![]() The Tor project is free software that helps protect your privacy by making it difficult for a 3rd party to analyze your network requests or link your traffic back to your network access point. See the Tor overview page for reasons why this may be important to world citizens, corporations, or specific professions.
The Tor project is free software that helps protect your privacy by making it difficult for a 3rd party to analyze your network requests or link your traffic back to your network access point. See the Tor overview page for reasons why this may be important to world citizens, corporations, or specific professions.
Simplified, this is done by using a large pool of distributed hosts and using varied and encrypted paths through these hosts to deliver your original request.
Be aware that no one is saying Tor provides fullproof anonymity on the internet, there are documented weaknesses [1,2,3]. But by now, it should be clear the security exists on a spectrum and not in absolute terms.
I will detail how to install both the Tor service and Tor browser which is designed to address the most common threats to remaining anonymous while browsing.
Install Tor service
First, add the proper source repository for the Ubuntu version:
$ echo "deb http://deb.torproject.org/torproject.org $(lsb_release -cs) main" | sudo tee -a /etc/apt/sources.list.d/tor.list
Then install the keys to this repository, update apt, and install
$ gpg --keyserver pool.sks-keyservers.net --recv  A3C4F0F979CAA22CDBA8F512EE8CBC9E886DDD89
$ gpg --export A3C4F0F979CAA22CDBA8F512EE8CBC9E886DDD89 | sudo apt-key add -

$ sudo apt-get update
$ sudo apt-get install tor deb.torproject.org-keyring

$ tor --version
Tor version 0.3.0.10 (git-5da2fc629a0670b3).
Validate running Tor service
Ubuntu 14.04
$ sudo service tor status
  * tor is running

$ netstat -an | grep "LISTEN " | grep 9050
tcp 0 0 127.0.0.1:9050 0.0.0.0:* LISTEN
Ubuntu 16.04
Ubuntu 16 uses systemd, so we check the status using systemctl.
$ sudo systemctl status tor
tor.service - Anonymizing overlay network for TCP (multi-instance-master)
 Loaded: loaded (/lib/systemd/system/tor.service; enabled; vendor preset: enabled)
 Active: active (exited) since Fri 2017-09-22 21:03:24 EDT; 2min 37s ago
 Process: 662 ExecStart=/bin/true (code=exited, status=0/SUCCESS)
 Main PID: 662 (code=exited, status=0/SUCCESS)
 CGroup: /system.slice/tor.service

Sep 22 21:03:23 osboxes systemd[1]: Starting Anonymizing overlay network for TCP (multi-instance-master)...
Sep 22 21:03:24 osboxes systemd[1]: Started Anonymizing overlay network for TCP (multi-instance-master).


$ netstat -an | grep "LISTEN " | grep 9050
tcp 0 0 127.0.0.1:9050 0.0.0.0:* LISTEN
Install Tor Browser
The Tor browser is based on Firefox, and builds in a comprehensive list of security and privacy requirements. Get the latest stable version of the Tor Browser from this page.
$ wget https://www.torproject.org/dist/torbrowser/7.0.5/tor-browser-linux64-7.0.5_en-US.tar.xz

$ tar xvf tor-browser-linux64-7.0.5_en-US.tar.xz

$ cd tor/tor-browser_en-US/Browser

$ Browser/start-tor-browser.desktop
Notice that none of the commands above were run as root. The first dialog asks if you want to make a direct connect to Tor, and if you on a home network you want a direct connection.

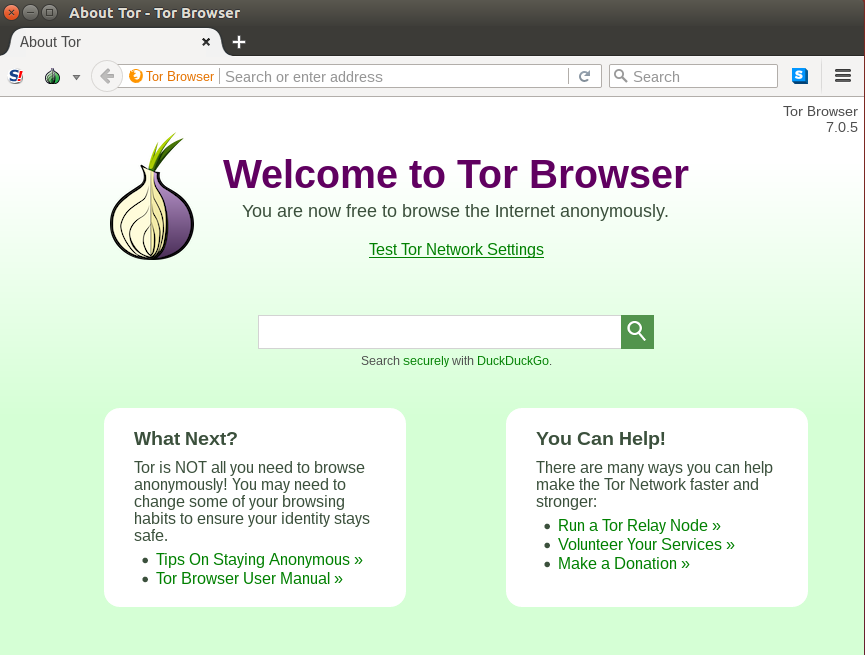
Now the Tor browser will come up, and you can start browsing the internet.
The Tor browser is using the Tor service on localhost:9050 as a SOCKS v5 proxy for all requests.
REFERENCES
https://www.torproject.org/docs/debian.html.en
https://www.torproject.org/docs/tor-doc-unix.html.en#using
https://www.torproject.org/download/download.html.en
https://en.wikipedia.org/wiki/Tor_(anonymity_network)#Weaknesses
http://resources.infosecinstitute.com/hacking-tor-network-follow/
http://securityaffairs.co/wordpress/30202/hacking/tor-traffic-analysis-attack.html
http://resources.infosecinstitute.com/hacking-tor-online-anonymity/
http://resources.infosecinstitute.com/hacking-tor-network-follow/
https://fossbytes.com/tor-anonymity-things-not-using-tor/
NOTES
The original instructions resulted in the message below because keys.gnupg.net no longer exist
gpg: WARNING: nothing exported
gpg: no valid OpenPGP data found.
https://tor.stackexchange.com/questions/12916/problem-with-tor-and-gpg-key (keys.gnupg.net no longer exist, use ‘pool.sks-keyservers.net’ instead)