![]() The pika module for Python provides an easy interface for creating exchanges and queues as well as producers/consumers for RabbitMQ .
The pika module for Python provides an easy interface for creating exchanges and queues as well as producers/consumers for RabbitMQ .
In this article, I will provide examples of a producer and consumer written in Python3. All source code is available on github.
Prerequisites
We will be using Ubuntu, Python3, and Docker in this article. Here are instructions for installing Docker CE on Ubuntu.
I have a Makefile to make the detailed commands more convenient, so go ahead and install that package.
sudo apt-get update
sudo apt-get install make -y
Creating a RabbitMQ server
Use Docker to quickly get a RabbitMQ server and management interface running.
# bring up server in background
sudo docker run --rm -it -d --hostname my-rabbit --name my-rabbit -p 15672:15672 -p 5672:5672 rabbitmq:3-management

# check private IP address of server (e.g. 172.17.0.2)
sudo docker inspect -f '{{range .NetworkSettings.Networks}}{{.IPAddress}}{{end}}' my-rabbit

#
# alternatively, just use target from Makefile
make run-rabbitmq-background
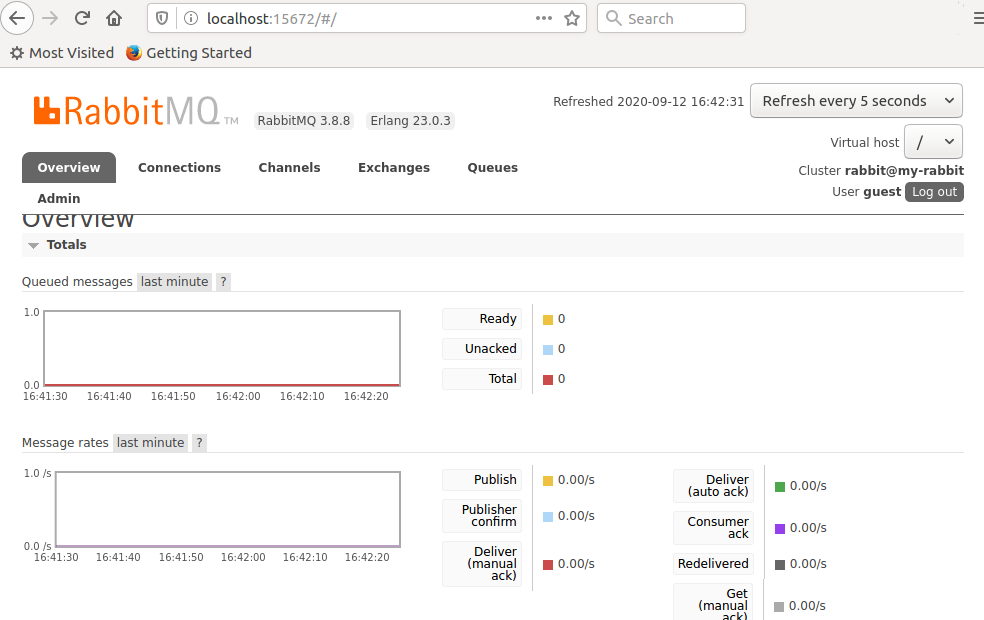
This will create a RabbitMQ server and surface the ports not only in the Docker network, but also forwarded to your host. For example, pulling up http://localhost:15672 should present a login screen (default user/pass=guest/guest), and after login you will get a screen similar to below.
Run the Producer from container
In order to package up Python3, the pika module, and custom source in a standardized way, I created a Dockerfile that generates an image. This provides the producer.py that will place an item on the queue.
# run using the privateIP of server returned earlier
sudo docker run -it --rm fabianlee/python-rmq-test:1.0.0 ./producer.py --host=172.17.0.2

# alternatively, run convenience task from make
make docker-run-producer
The docker network address I got back from the RMQ server earlier was 172.17.0.2, so I use that now to point the client producer to the RMQ server.
This puts an item on the ‘testqueue’, and that can be confirmed in the RabbitMQ Web GUI.
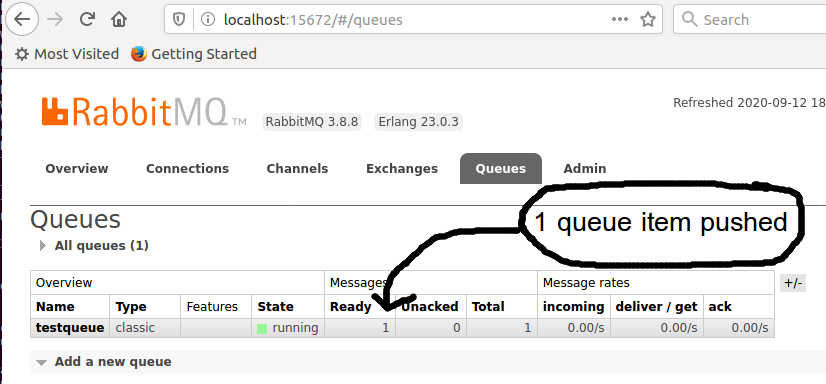
This placed a message directly on the ‘testqueue’ using the default exchange. Production scenarios typically use exchanges as a level of indirection and flexibility, which then post to the queue.
# run using the privateIP of server returned earlier
sudo docker run -it --rm fabianlee/python-rmq-test:1.0.0 ./producer.py --host=172.17.0.2 --exchange=myexchange

# alternatively, run convenience task from make
make docker-run-producer CMD="--exchange=myexchange"
Run the Consumer from container
That same image also contains the Python consumer.py which will retrieve a message from the queue.
# run using privateIP of server returned earlier
sudo docker run -it --rm fabianlee/python-rmq-test:1.0.0 ./consumer.py --host=172.17.0.2

# alternatively, run convenience task from make
make docker-run-consumer
The consumer will now pull off the two messages posted (one directly to the queue, and the other to the exchange which puts it on the queue), which should look like:
from queue testqueue: my test
from exchange 'myexchange': my test!
You can CTRL-C to stop the consumer from listening.
Run the producer/consumer directly
It is not necessary to use my Docker image to run the Python producer/consumer scripts. You can also run them from your host, however it requires that you have the environment configured properly.
First, get the proper packages and use git to pull down the code.
# get packages
sudo apt-get update
sudo apt-get install git make python3 python3-dev python3-pip python3-venv -y

# get code
git clone https://github.com/fabianlee/python-rmq-test.git
cd python-rmq-test
Then create a virtual environment for the packages.
# create virtual env, activate
python3 -m venv .
source bin/activate

# list packages in venv, add pika, then validate
pip3 list
pip3 install pika
pip3 list
Then you can run the producer and consumer.
# puts message on queue
./producer.py

# retrieves message from queue
./consumer.py

# get out of virtualenv
deactivate
Stop the RabbitMQ server
To stop the RabbitMQ server container:
sudo docker stop my-rabbit
REFERENCES
docker hub, container used as client in this article
cloudamqp.com, Getting started with RabbitMQ and Python
medium.com, Mohamed Fadil Intro to Message queues with RabbitMQ and Python
medium.com, Julio Falbo on different types of RabbitMQ Exchanges (direct,
rabbitmq, create exchange using python/admin
cloudiqtech.com, Getting started with RabbitMQ and Python
marjomercado.wordpress.com, RabbitMQ and simple python send/receive scripts
Ubuntu client package, amqp-tools
stackoverflow, how to connect pika to RabbitMQ
cloudiqtech.com, Getting started with RabbitMQ and Python
compose.com, rabbitmq user and different types of exchanges
stackoverflow, create user/tags, permissions, vhost perms, exchange, queue, binding from CLI
stackoverflow, use of ifeq/endif in Makefile without indentation
NOTES
Search for python3 related Ubuntu packages
sudo apt-cache search python3
Command line rmq client for Ubuntu
sudo apt-get install amqp-tools -y
amqp-publish -r testqueue --server=172.17.0.2 -b "sent from cli"
amqp-get -q testqueue --server=172.17.0.2
Get into shell of server
docker exec -it my-rabbit /bin/bash
Runs rabbitmqctl against server in container
# list current exchanges
docker exec -it my-rabbit /bin/bash -c "rabbitmqctl list_exchanges"
# create exchange
docker exec -it my-rabbit /bin/bash -c "rabbitmqctl create_exchange"
Runs rabbitmqadmin against server in container
docker exec -it my-rabbit /bin/bash -c "rabbitmqadmin -f long -d 3 list queues"