![]() The Apple Virtualization Framework (AVF) provides the ability to run completely independent virtual machines on top of M family Apple Silicon.
The Apple Virtualization Framework (AVF) provides the ability to run completely independent virtual machines on top of M family Apple Silicon.
For example, you can run multiple versions of MacOS virtualized for validating an application or its dependencies against different environments. Additionally, cloning an existing VM (with little cost thanks to APFS copy-on-write) allows you to experiment with an upgrade process or package installation with no risk.
In this article, we will use virtualbuddy (which leverages AVF under the hood) to create two virtualized hosts: one running macOS and another running Ubuntu for ARM64.
Install brew package manager
Install brew from the terminal per the official brew instructions.
# install brew
/bin/bash -c "$(curl -fsSL https://raw.githubusercontent.com/Homebrew/install/HEAD/install.sh)"

# add brew environment variables to current shell
eval "$(/opt/homebrew/bin/brew shellenv)"
Install virtualbuddy
Install virtualbuddy as a convenient UI for creating VM.
brew install virtualbuddy
Configure zsh settings
To persist the proper shell settings, add the following values to ~/.zprofile
# brew variables and PATH
eval "$(/opt/homebrew/bin/brew shellenv)"
command -v brew >/dev/null 2>&1 || export PATH=/opt/homebrew/bin:$PATH
Starting virtualbuddy UI
Start virtualbuddy by navigating to:
Finder > Applications > VirtualBuddy
Running a virtualized macOS
Download IPSW to provide fresh macOS
The IPSW is a system restore image for Apple macOS. This can be used to create a fresh installation of the Apple macOS virtual machine.
You must download the proper IPSW file for your M family hardware, which can be done at: https://ipsw.me/product/Mac. As an example, for an M1 MacBookAir, you can pick from versions ranging from 14.x – 11.x.
Alternatively, there are also links on mrmacintosh.com
virtualbuddy to create VM
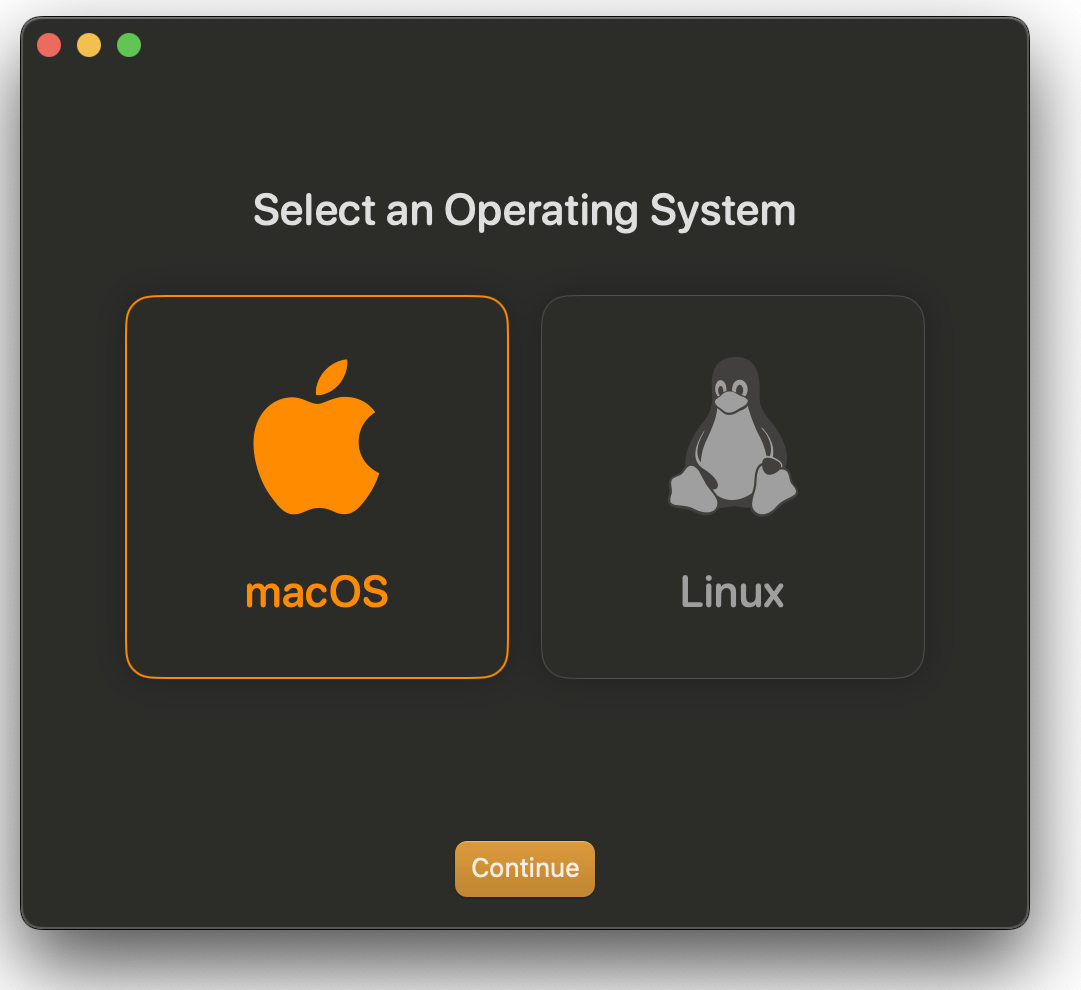
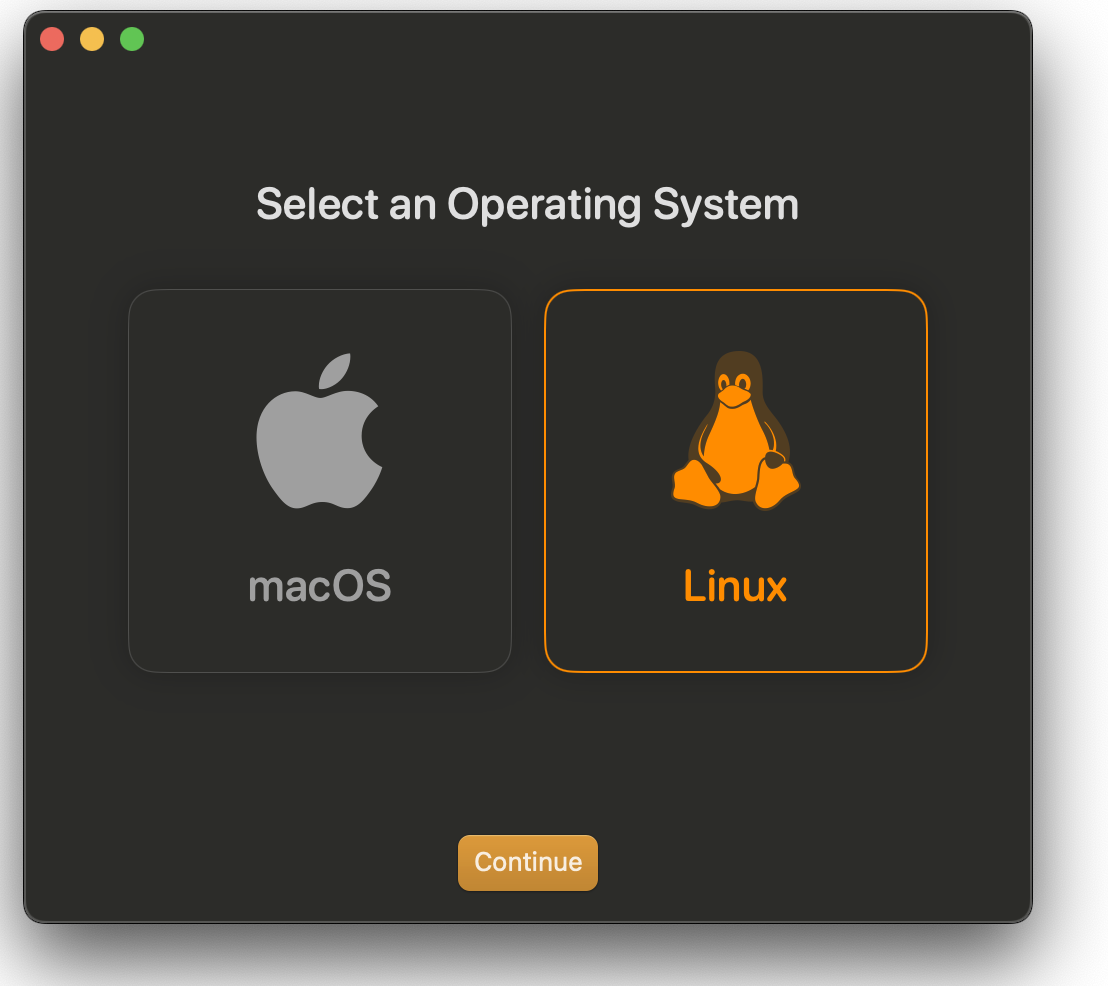
From the virtualbuddy UI, press the “+” icon to start the creation of your VM. Select “macOS”.
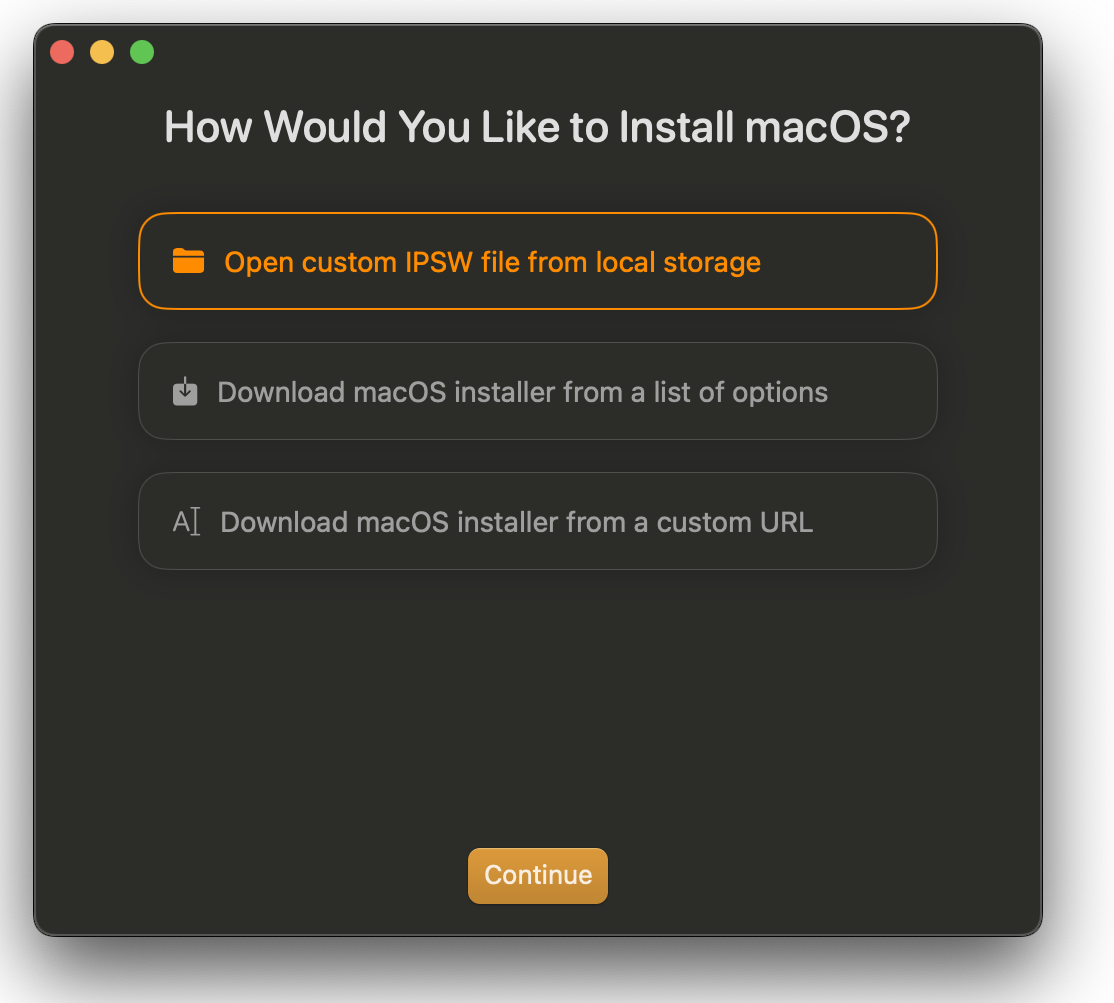
Select “Open custom IPSW file from local storage”, then select the downloaded ipsw file.
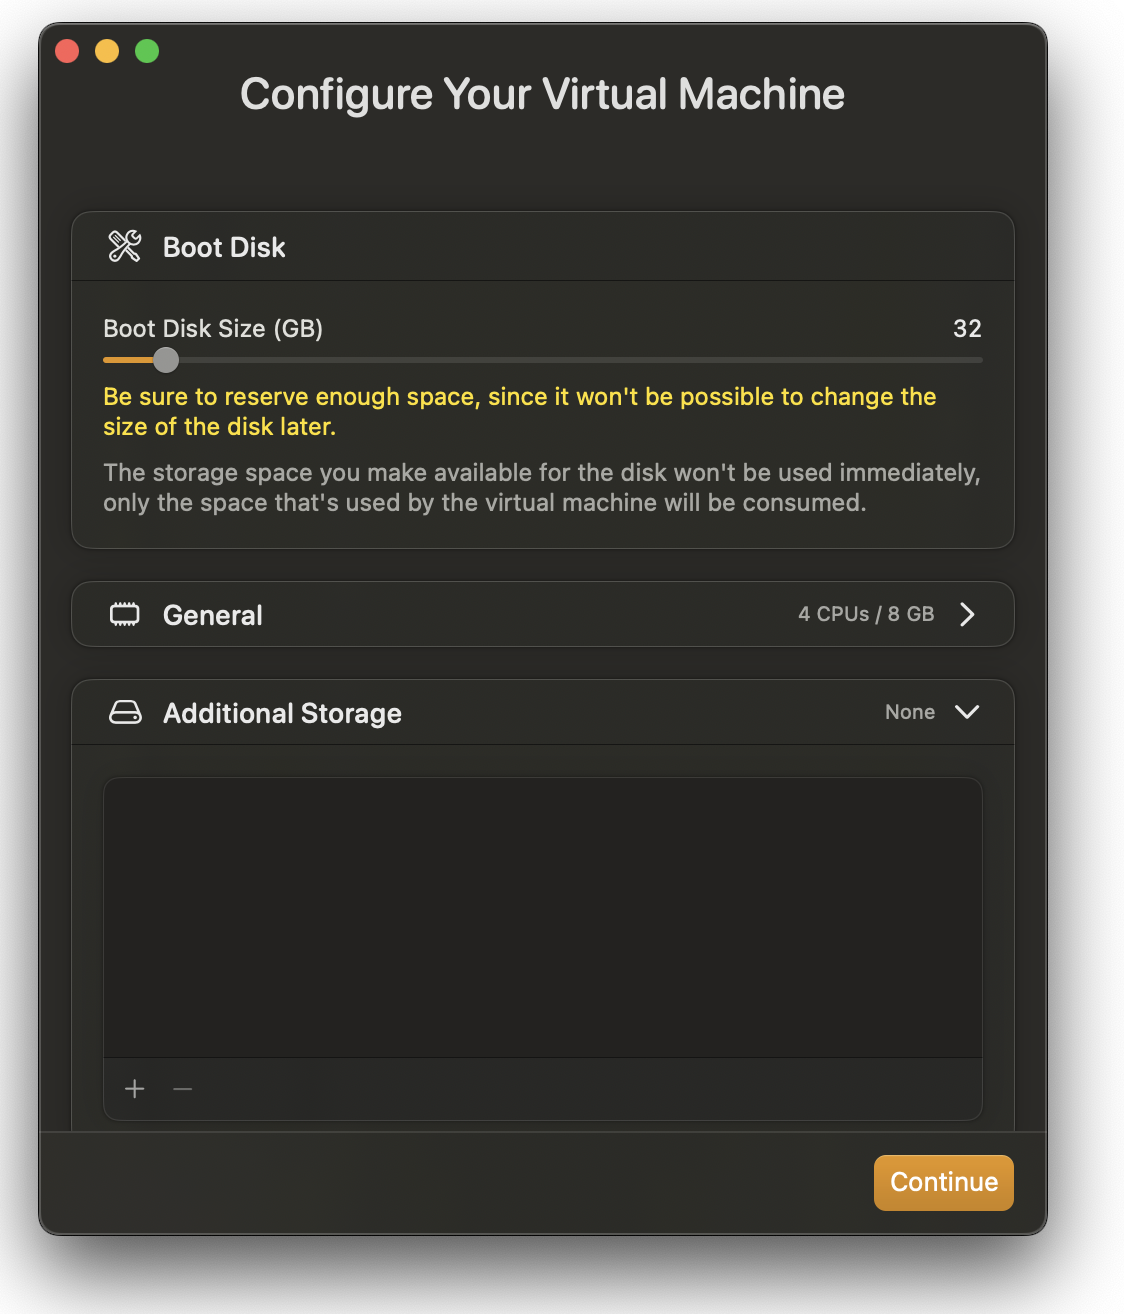
Choose the name=mymacvm. Then change the boot disk size to disk=32G (you can leave the other options at their defaults).
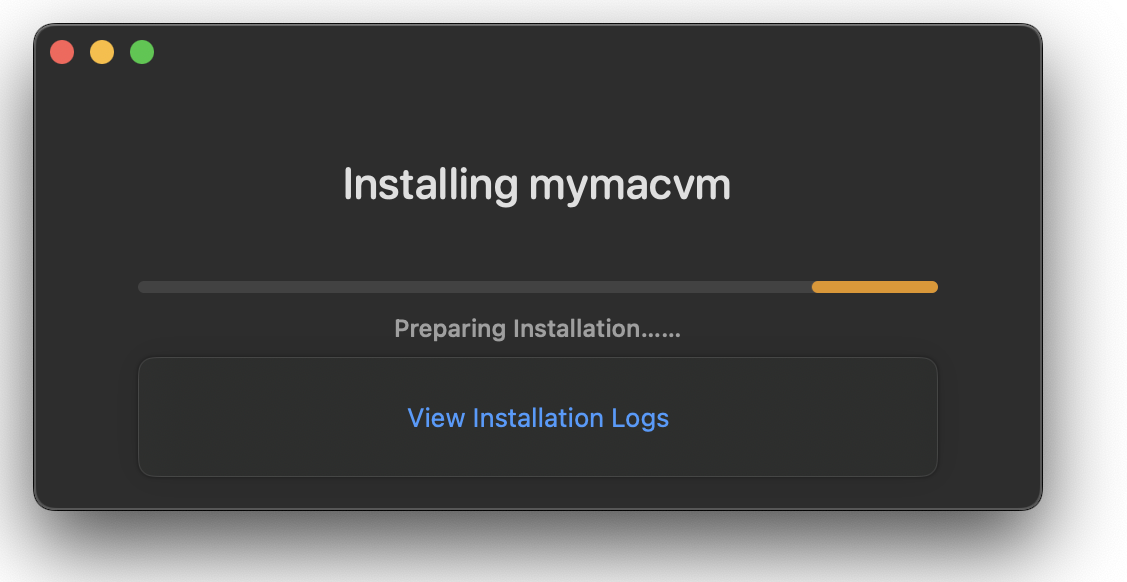
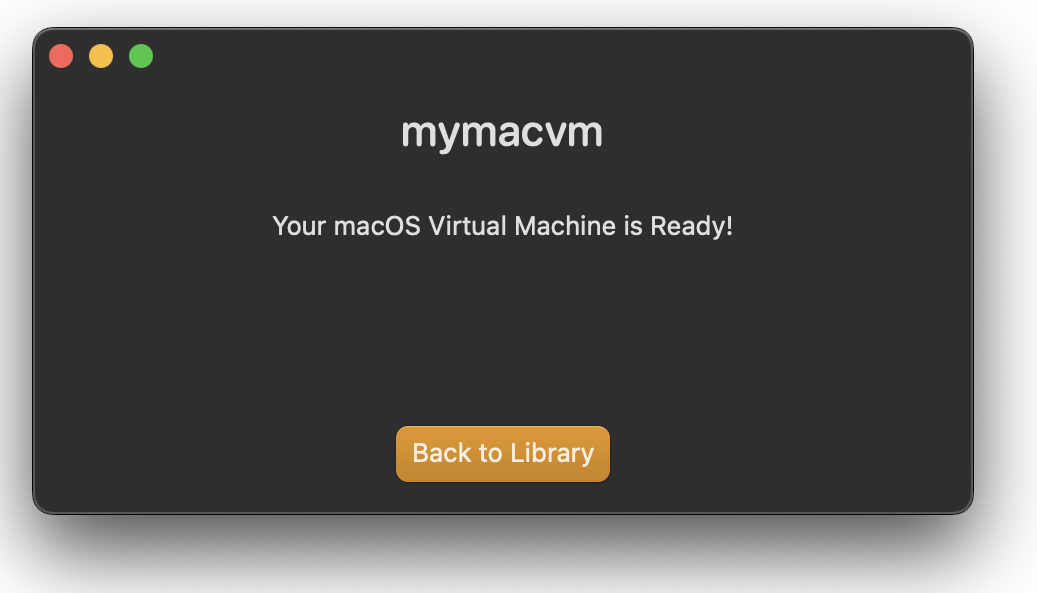
The VM disk will be prepared, which will take a minute. When done, you can return to the library.
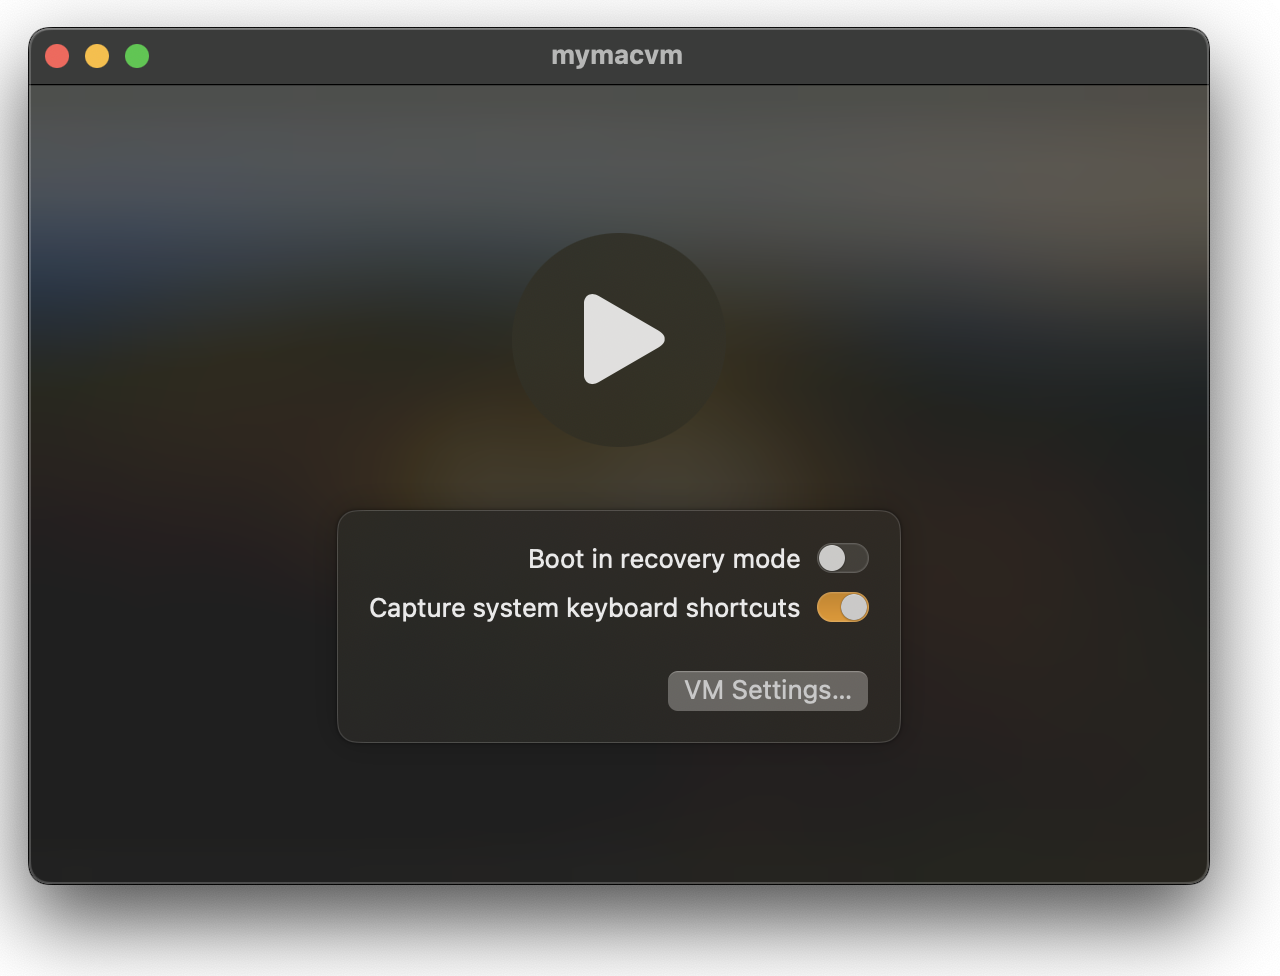
Click on the “mymacvm” block, and a dialog will popup that allows you to start the VM. Leave “Boot in recovery mode” disabled, and press the right arrow icon.
After a few seconds, the beginning hello screen for macOS will be shown and you should follow the full installation procedure for language selection, WI-FI configuration, and Apple ID credentials; just like you would for any fresh macOS install.

The “Boot on install drive” should be disabled after the installation process is complete, and for all subsequent reboots.
You can run applications directly from the GUI window, or you can get the IP address of the VM using “ifconfig | grep 192” from its terminal and then ssh in from your Mac host. If you are using the default NAT networking, your IP will be on the 192.168.64.0/24 network.
Running a virtualized Ubuntu
Download ISO
For the Ubuntu OS, we need to download the ARM 64 ISO (not the AMD64) available from Ubuntu.
This is available at: https://ubuntu.com/download/server/arm
virtualbuddy to create VM
From the virtualbuddy UI, press the “+” icon to start the creation of your VM. Select “Linux”.
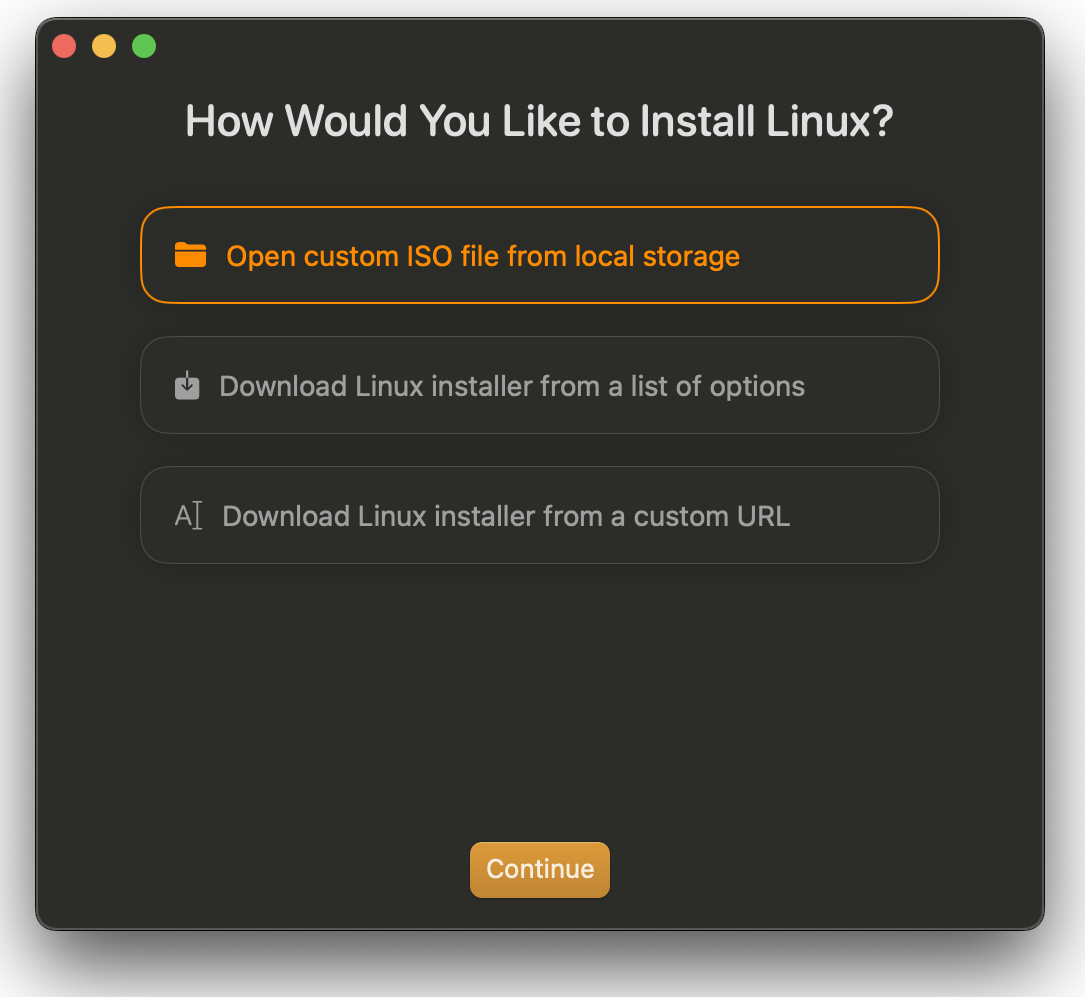
Choose “Open custom ISO file from local storage” and select the Ubuntu 22 ARM ISO just downloaded.
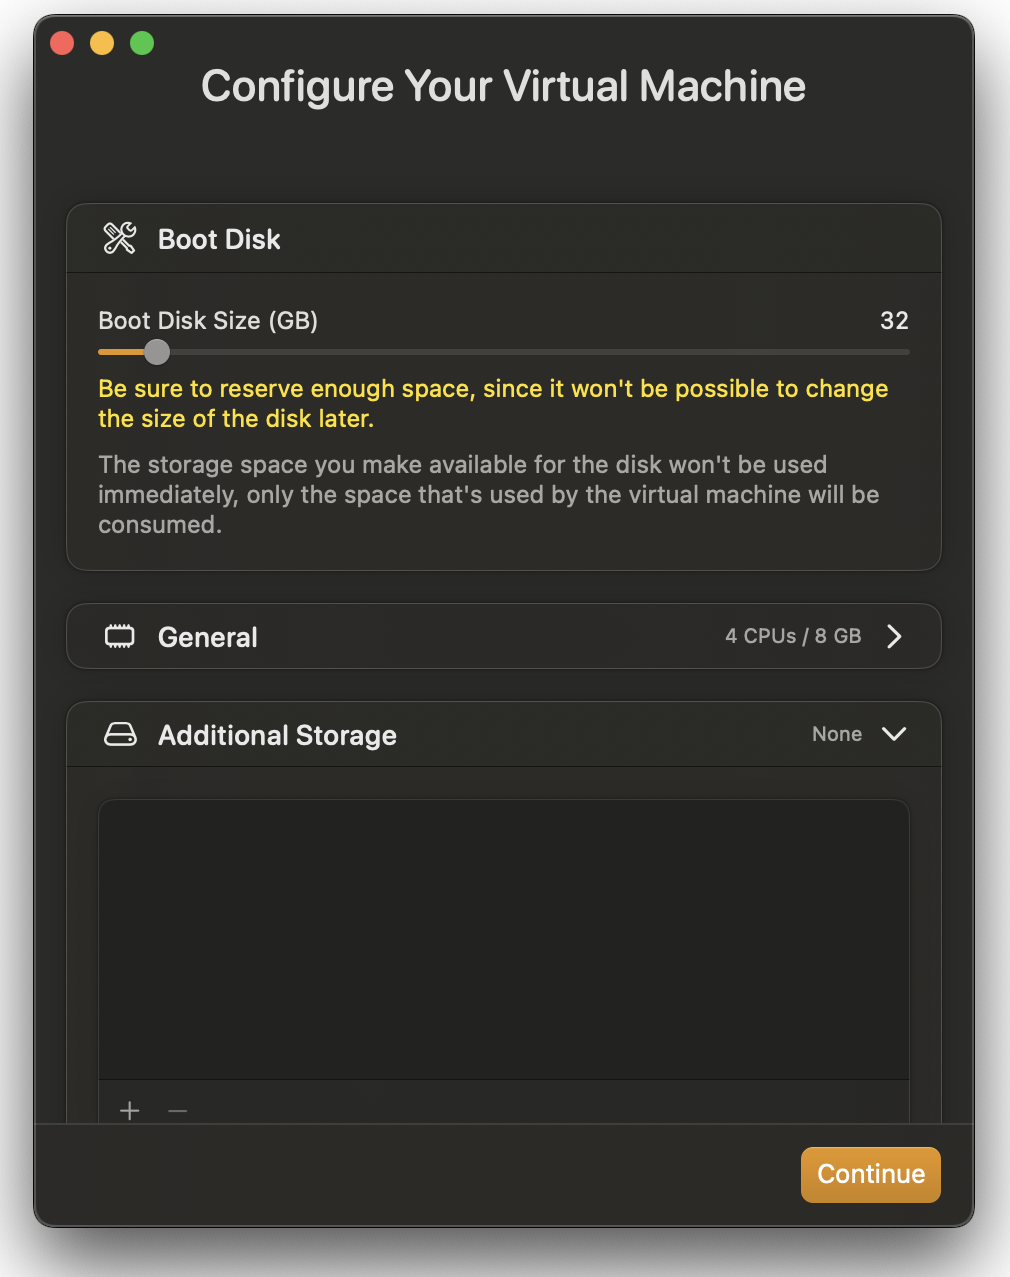
Choose the name “ubuntu22arm”. Then set the boot disk size to 32Gb (you can leave the other options at their defaults).
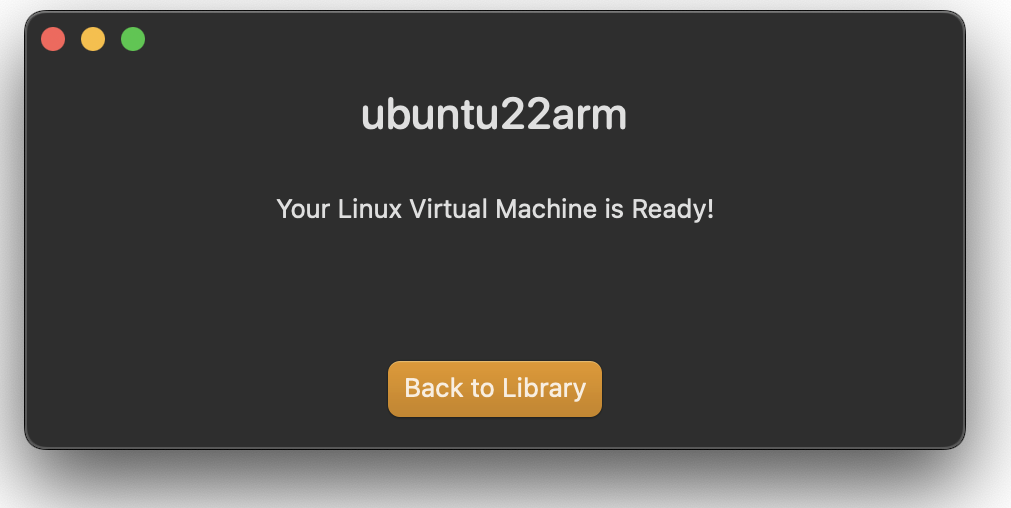
It should only take a second for the virtual VM to be ready, press “Back to Library”.
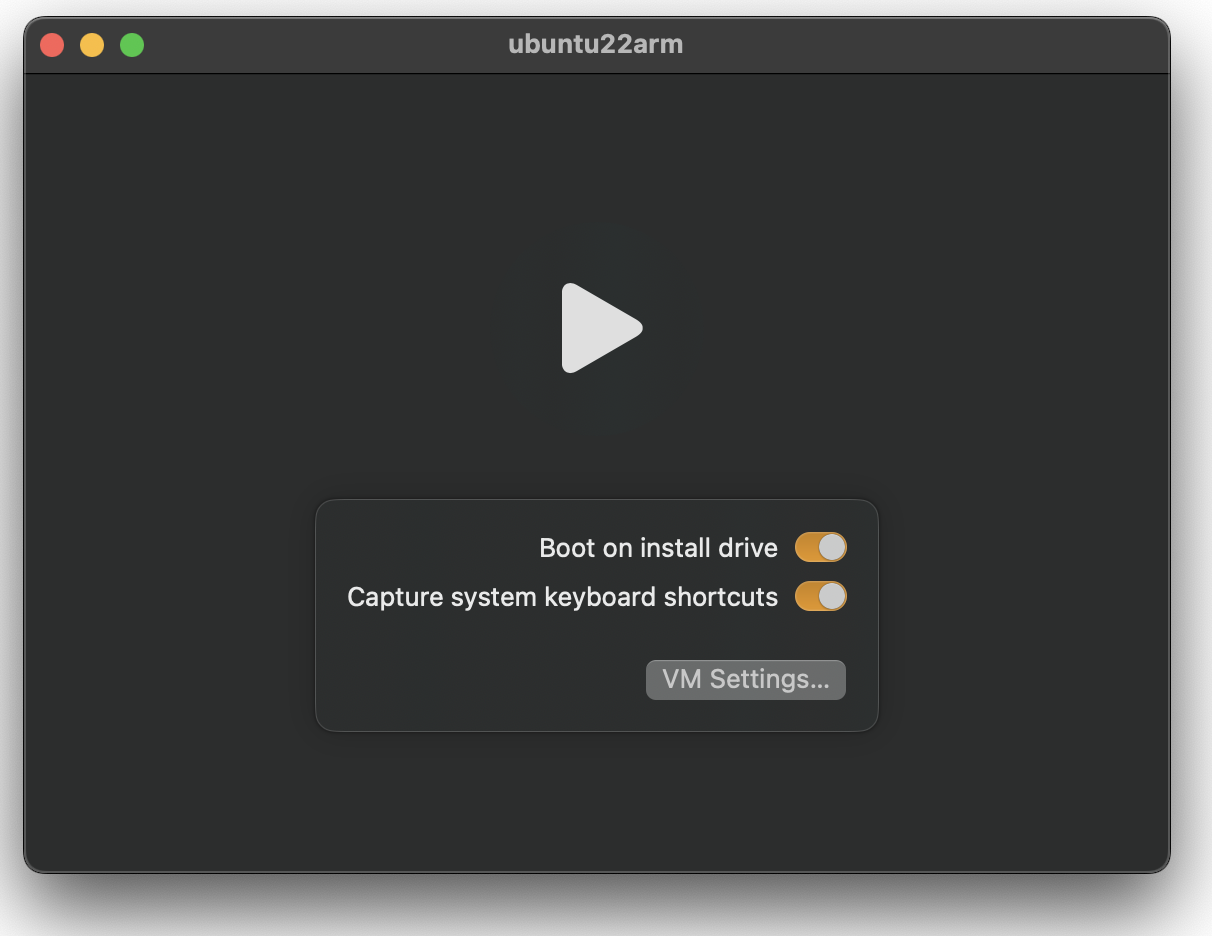
Click on the “ubuntu22arm” block, and a dialog will popup that allows you to start the VM. Leave “Boot on install drive” enabled, and press the right arrow icon.
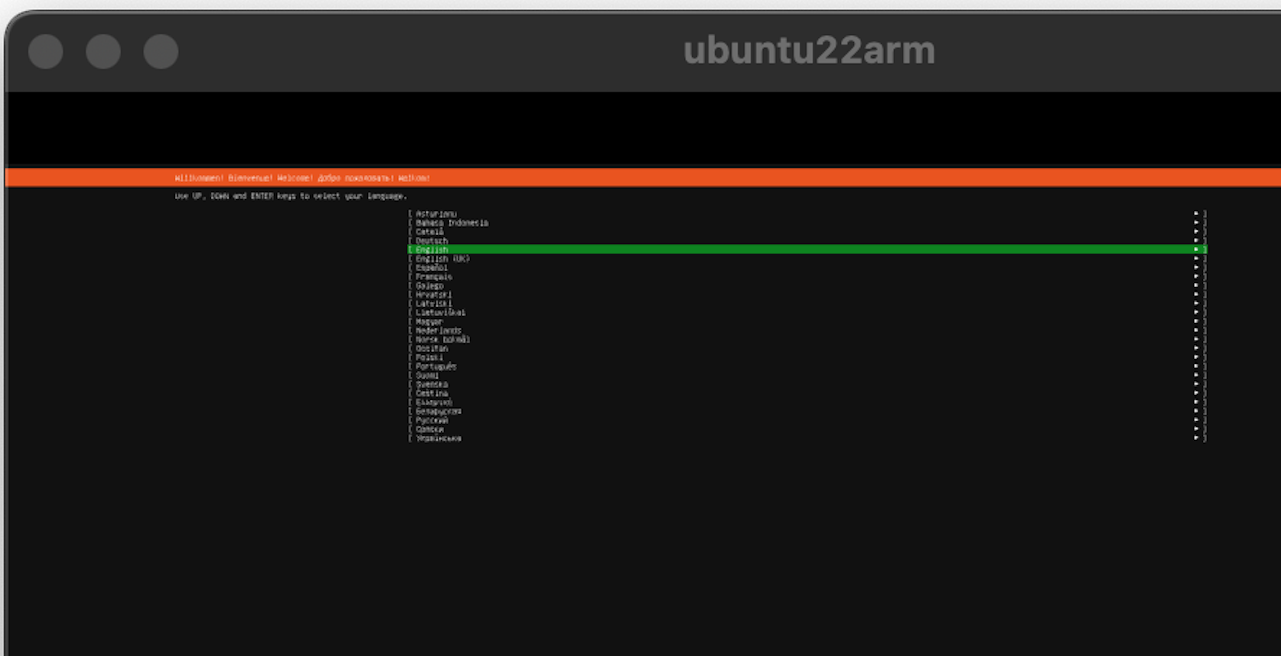
After pressing <ENTER> on the first grub entry, you should see the first screen of the Ubuntu install wizard, asking to choose a lanuage. Follow all the steps of the installation wizard.
The “Boot on install drive” should be disabled after the installation process is complete, and for all subsequent reboots.
You can run applications directly from the GUI window, or you can get the IP address of the VM using “ip a | grep 192” from its terminal and then ssh in from your Mac host. If you are using the default NAT networking, your IP will be on the 192.168.64.0/24 network.
REFERENCES
Apple.com, Apple Virtualization Framework
github.com, virtualbuddy source
ipsw.me, macbook air m1 IPSW file
tinyapps.org, virtualizing Linux on Apple Silicon