![]() If you have ever considered moving from WordPress to the Jekyll static site generator, you can preview this migration by running jekyll on your local Ubuntu host.
If you have ever considered moving from WordPress to the Jekyll static site generator, you can preview this migration by running jekyll on your local Ubuntu host.
This will allow you to assess whether you can find suitable replacements for the WordPress plugins you have come to rely upon, validate your content syntax, and tweak css themes/styles before moving to a hosting service such as GitHub Pages.
In this article, we will use RVM (Ruby Version Manager) to install the required Ruby version and gem dependencies for jekyll. RVM gives us the flexibility to run our own independent version of Ruby without conflicting with any system-level installs.
This installation was tested on Ubuntu 20.04 and 22.04.
Installing jekyll using RVM
Install a minimal set of OS package dependencies.
# install global OS apt dependencies
sudo apt update
sudo apt install -y unzip curl gpg g++ gcc autoconf automake bison libc6-dev libffi-dev libgdbm-dev libncurses5-dev libsqlite3-dev libtool libyaml-dev make pkg-config sqlite3 zlib1g-dev libgmp-dev libreadline-dev libssl-dev
Use rvm at the user level to install a ruby 3.1.x version
# install GPG keys to packages
curl -sSL https://rvm.io/mpapis.asc | gpg --import -
curl -sSL https://rvm.io/pkuczynski.asc | gpg --import -

# install rvm and source the env
curl -sSL https://get.rvm.io | bash -s stable
source ~/.rvm/scripts/rvm

# use rvm to install ruby and set default ruby 3.x
rvm install ruby-3.1.0
rvm --default use ruby-3.1.0

# check versions (should be 3.1.+)
ruby --version
gem --version
Install jekyll using gem.
gem install jekyll

# should be 4.x+
jekyll --version
Create and serve a minimal jekyll site.
# create new jekyll site
jekyll new test.github.io
cd test.github.io

# serve jekyll site, use gem from Gemfile
bundle exec jekyll serve
Validate the jekyll site using curl or your local browser.
curl http://localhost:4000
Exporting WordPress content
Per the steps above, you now have a minimal jekyll site installed and being served locally. But we still need to get our existing WordPress content served.
This can be done using the Jekyll Exporter WordPress plugin.
From Plugins > Add New on your WordPress admin site, search for “jekyll exporter” and you can press “Install Now”, then “Activate”.

Then from the WP Admin web UI, select Tools > Export to Jekyll. This will start the download of “jekyll-export.zip” to your local machine. This zip contains all the metadata, images, and post content of your WordPress site.
Migrate WordPress Posts to Jekyll
Place the “jekyll-export.zip” into the directory above “test.github.io” and extract.
# extract your WordPress posts
cd ..
unzip jekyll-export.zip
Escape any characters in your posts that look like Liquid template special directives (namely double curly brackets and curly bracket percent).
cd _posts

# download my cleanup script
wget https://raw.githubusercontent.com/fabianlee/blogcode/master/jekyll/escape_liquid_directives.sh
chmod +x *.sh

# run cleanup of liquid directives
./escape_liquid_directives.sh
cd ..
Then copy all the old WP posts into the “test.github.io/_posts” directory where they can be served by jekyll.
# copy WordPress posts to Jekyll site
cp _posts/* test.github.io/_posts/
If you still have ‘jekyll serve’ running, then wait 30 seconds while the migrated posts are generated. Else, start ‘jekyll serve’ again.
bundle exec jekyll serve
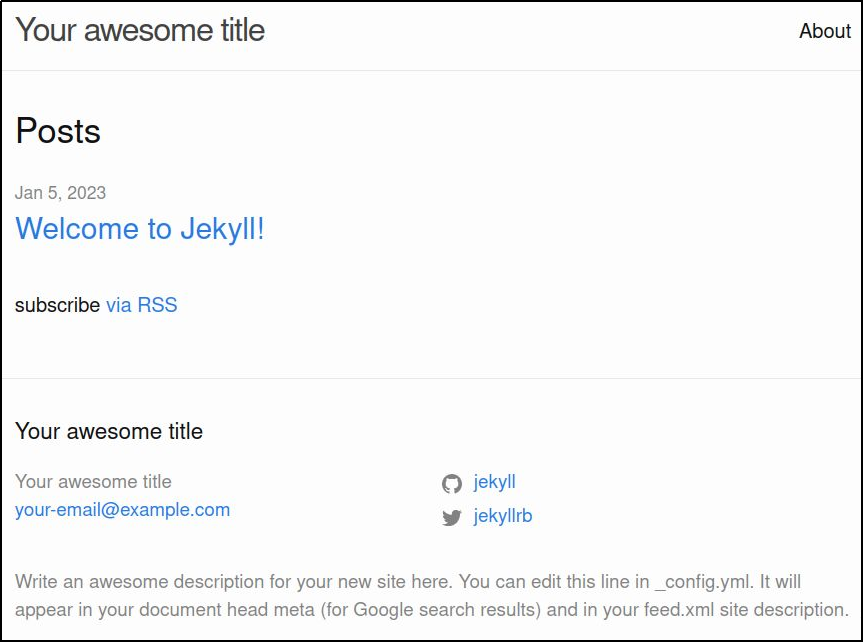
All the migrated posts should now be available from localhost:4000 to your local browser for preview and validation.
Jekyll site customization
There are a couple of customizations that you can start with:
- modifying general site info – update of title, description, email, social media links
- modifying css of site – tweaking css styles of theme
Modifying general site info
The “_config.yml” file in the base directory contains site level settings:
- title
- description
- twitter_username
After modifying _config.yml, restart ‘jekyll serve’ to have these new values reflected on the pages.
Modifying css
Do NOT modify “_site/assets/main.css” directly, because jekyll uses SaaS for css extension and your changes will not persist. Instead create a new “.scss” file that overrides your current theme and adds it own styles.
First, create an “assets” directory from the base directory.
mkdir assets
Then create a file named “assets/main.scss” with the content below.
---
---

@import "minima";

body {
  background-color: red;
}
The two sets of dashes tells jekyll its needs to process the file. The import allows us to use the existing styles, with our own styles appended afterward.
Restarting “jekyll serve” should now show you pages with a full red background.
REFERENCES
GitHub Pages, serving jekyll sites
GitHub Pages, how to for jekyll
hyvor.com, migrate from WordPress to jekyll
github, source of jekyll exporter WordPress plugin
gjermundbjaanes.com, how to migrate from WP to jekyll with screenshot of plugin install
rvm.io, Ruby Version Manager (rvm)
linuxize.com, installing ruby on Ubuntu with rvm or rbenv
stackoverflow, need ruby 3.1.0+ on Ubuntu 22 because openssl3.0
digitalocean, installing rvm on ubuntu 20.04
stackify.com, installing RVM on Ubuntu
tomkadwill.com, override css styles in jekyll
NOTES
Starting jekyll on specific network interface using -H
jekyll build && jekyll serve -H 192.168.122.212
Installing jekyll on Ubuntu 22.04 usind default apt repo
Since Ubuntu 22.04 has ruby 3.x available in the default apt repo, it is possible to install jekyll without RVM. But the benefits of RVM are significant.
# install global OS apt dependencies
sudo apt install -y build-essential ruby ruby-rubygems ruby-dev
Install jekyll using gem.
# install this list to avoid errors later about modules not installed
export PATH=$HOME/.local/share/gem/ruby/3.0.0/bin:$PATH
gem install jekyll jekyll-sass-converter kramdown bundler --user

# to avoid error from jekyll asking for sudo access
bundle config set --local path 'vendor/bundle'
bundle install
Create and serve minimal jekyll site.
# create new jekyll site
jekyll new test.github.io
cd test.github.io

# serve jekyll site
bundle exec jekyll build && bundle exec jekyll serve
get path to gem theme files
bundle info --path minima